Chitika

Thursday, March 22, 2018

Windows Server 2019 Insider preview on VMware workstation 14

Microsoft Windows Server Team has released Insider preview for Windows Server 2019. In this post, I am going to install it on VMware workstation 14. Download

Windows Server vNext LTSC Preview - Build 17623

You can download it from here.

What's New in Windows Server 2019:

Microsoft brings numerous innovations on these four themes in Windows Server 2019.

Hybrid Cloud
Security
Application Platform
Hyper-Converged Infrastructure (HCI)

Let's start with VMware workstation

Open VMware workstation and click File-> New Virtual Machine-> Custom (Advanced) and click Next.

On next Screen leave the hardware compatibility to default (Workstation 14.0) and click Next.
On Very Next screen select ( I will install the operating system later) and click Next


Under Guest Operating system Select Microsoft Windows and Under Version Select Windows Server 2016 and Click Next.


Set the virtual machine name and location where you want to save the VM.


Select Firmware Type to BIOS. and click Next.


Set the number/number of cores per processor (at least 2 cores required) and click Next.


Set the Memory as per your server. I am going to set 4GB  and click next.


Select Network Type on the Next screen and click Next. I am going to use Bridged Networking.
On Next screen select I/O Type I am going with the default option as follows.


On Next screen go with recommended settings SCSI (Recommended) 


Select Create New Disk and Click Next. 


Set the disk capacity and click Next.


Set the disk file name and click Next.


Review your VM Settings and Click Finish.


Click Edit Virtual Machine Settings and click on CD/DVD SATA and set the path for downloaded Windows Server 2019 ISO file. Make Sure that Connect at Power on is selected under Device status. Click OK.


Power On the Virtual Machine and you will see following. Click Next.


Click Install Now.


Enter the Key for the version you are going to install.


Select the Version you want to install. I am going to install Windows Server Standard (Desktop Experience).


On Next Screen Accept the License Terms and click Next. On Next Screen Click on Custom: Install Windows only (Advanced)


On next screen set where you want to install the windows and click Next.


Setup will start on next screen.


After reboot, you will see following. Set the Password for Administrator and click Finish.


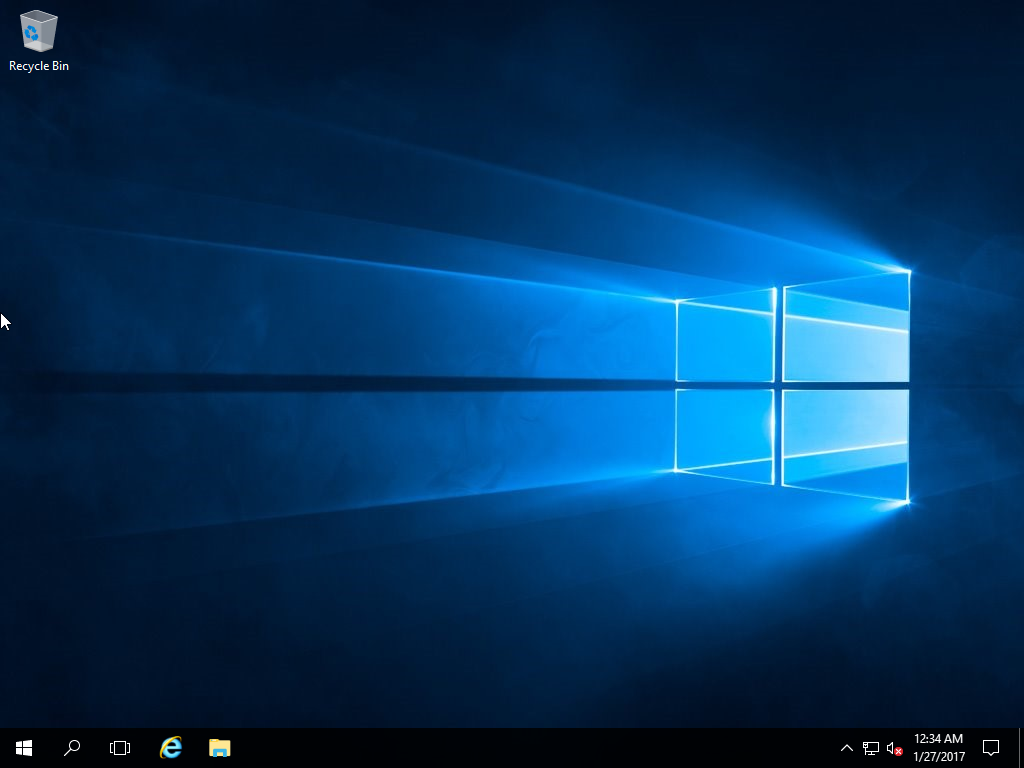
Login with Administrator Account.


Install VMware Tools, You will experience the enhanced performance.


Right click-> Personalize -> Themes, Here you can change desktop icons.


Project Honolulu on Windows Server 2019


Till this build, you can check what's working and what's need to be improved. 

That's all for now. Check your server as per your requirements. 

Cheers -:) 


Friday, January 27, 2017

How to Install Windows Server 2016 on VMware Workstation 12.5

Microsoft has release Windows Server 2016 final. you can download and install it's evaluation version. In this Post I am going to show you the steps to install Microsoft Windows Server 2016 Evaluation on VMware Workstation 12.5.

Following flavors of Windows Server 2016 are available for evaluation.
  1. Windows Server 2016
  2. Microsoft Hyper-V Server 2016
  3. Microsoft Server 2016 Essentials
You can download any of these flavors from this link. I have downloaded Windows Server 2016. Lets start with VMware Workstation 12.5.

Open VMware workstation and click File-> New Virtual Machine-> Custom (Advanced) and click Next.


On next Screen leave the hardware compatibility to default (Workstation 12.0) and click Next.
On Very Next screen select ( I will install the operating system later) and click Next


Under Guest Operating system Select Microsoft Windows and Under Version Select Windows Server 2016 and Click Next.


Set the virtual machine name and location where you want to save the VM.


Select Firmware Type to BIOS. and click Next.


Set the number/number of cores per processor (at least 2 cores required) and click Next.


Set the Memory as per your server. I am going to set 4GB  and click next.


Select Network Type on the Next screen and click Next. I am going to use Bridged Networking.
On Next screen select I/O Type I am going with the default option as follows.


On Next screen go with recommended settings SCSI (Recommended) and Click Next.
Select the Disk and click Next.


Set the disk capacity and click Next.


Set the disk file name and click next.


Review your VM Settings and Click Finish.


Click Edit Virtual Machine Settings and click on CD/DVD SATA and set the path for downloaded Windows Server 2016 ISO file. Make Sure that Connect at Power on is selected under Device status. Click OK.


Power On the Virtual Machine and you will see following. Click Next.


Click Install Now.


Select the Version you want to install. I am going to install Windows Server 2016 Standard Desktop Experience and click Next.


On Next Screen Accept the License Terms and click Next. Click Custom: Install Windows Only (Advanced)

On next screen set where you want to install the windows and click Next.


Setup will start installing on next screen.


After reboot, you will see following. Set the Password for Administrator and click Finish.


Send Ctrl+Alt+Del and you will see login prompt. Enter your password and login.


you will see Windows Server 2016 Standard Up and running.


Install VMware tools for better performance.

You may configure your server as per your requirements. That's all for this post. Next we will configure Active directory on this Server.

Cheers -:)


Wednesday, June 1, 2016

How To Install Exchange Server 2016 on Windows Server 2012 R2-Part-2

In Previous post we have installed Microsoft Exchange Server 2016 on Windows Server 2012 R2.

In this How-TO we have to complete post Installation Tasks for Exchange Server 2016.

Use the EAC to enter the product key


  • Open the EAC by Browsing the URL of Mailbox server and Enter you username and password. https://mymail.mydomain.local/ECP
  • Go to Servers > Servers. Select the server you want to license, and then click Enter Product Key.


    • Enter You Product Key and Click Save


    Configure Mail Flow and Client Access


    Create a Send connector
    • Open the EAC by Browsing the URL of Mailbox server and Enter you username and password. https://mymail.mydomain.local/ECP


    • Go to Mail flow > Send connectors. On the Send connectors page, click New Add icon

    • In the New send connector wizard, specify a name for the Send connector and then select Internet. Click Next.

    • Verify that MX record associated with recipient domain is selected. Click Next.

    • Under Address space, click Add Add icon. In the Add domain window, make sure SMTP is selected in the Type field. In the Fully Qualified Domain Name (FQDN) field, enter *. Click Save.

    • Make sure Scoped send connector isn't selected and then click Next.
    • Under Source server, click Add Add icon. In the Select a Server window, select a Mailbox server. After you've selected the server, click Add and then click OK.

    • Click Finish.

    Add additional accepted domains
    • Go to Mail flow > Accepted domains. On the Accepted domains page, You will some thing like  

    • If you want to add more domain click New Add icon.
    • In the New accepted domain wizard, specify a name for the accepted domain.
    • In the Accepted domain field, specify the SMTP recipient domain you want to add. For example, contoso.com.
    • Select Authoritative domain and then click Save.

    Offline Address Book

    • Go to Server > Database and Click Edit

    • Click Client Settings > Click Browse >  Click OK 

    • Click Save


    Testing Your Server

    As we are using Exchange server 2016 in a LAB environment. We are not going check email Send/Receive for external Organization users. Lets Create Two new users in our Domain and create their email addresses for testing. I have Created Two users in Active Directory As Test1 and Test2

    Create Mailbox for users

    • Open the EAC by Browsing the URL of Mailbox server and Enter you username and password. https://mymail.mydomain.local/ECP
    • In recipients Click + button and Click User mailbox


    • Set The Alias for New User i.e test1 and Click Browse for existing Users Select Test Click Ok and Click Save


    • Add Test2 user as we did for Test1
    • You will see like Following. You can see Outlook Web is Enabled

    • Open Web Browser on Client Machine and Open https://mymail.mydomain.local/owa and login with MYDOMAIN\Test1


    • Click on New and Create a New Email. Send a Test Email to Test 2


    • Open https://mymail.mydomain.local/owa for Test2 User and check email You will see a New email from Test1

    • Reply this email back to Test1. 
    • Check Test1 mailbox and you will see replied email by Test2

    You see Our email server is working fine. Testing is complete. You can configure more for production environment as required. 

    Cheers -:)