Chitika

Showing posts with label RedHat. Show all posts

Tuesday, October 13, 2015

How to setup DNS server on RedHat Enterprise Server 7

In this How-To we are going to setup DNS server for a single zone for our test domain mydomain.local. This DNS server will act as master authority for this domain and will resolve fully qualified domain name (FQDN) mydomain.local and www.mydomain.local to IP address 20.0.0.3.

Our Named Daemon will listen on two local IP addresses, Loopback 127.0.0.1 and Interface IP address 20.0.0.3

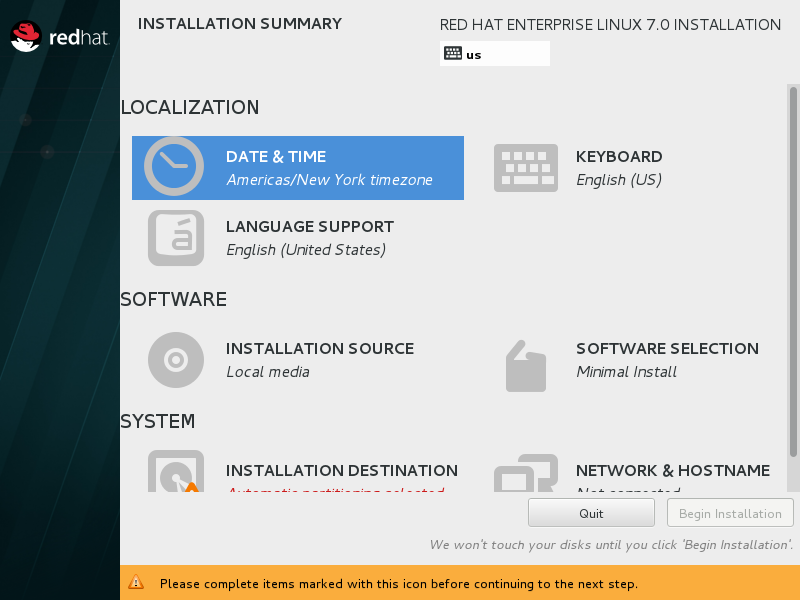
 DNS Server Installation

To install DNS server Open Terminal and Run following Command

# yum -y install bind bind-utils

Once the DNS installtation finished we have to configure to named daemon to listen on loopback and local interface address. Open /etc/named.conf and change the following line as per your network configuration.


Check if hostname is correct. open vi /etc/hosts and it will looks like following.


Here now we can start named Daemon.


Now check if name dc can be resolved.


Now Check port 53 by netstat command. We have DNS server configured to listen on Loopback and local interface.


Now open firewall to allow DNS queries from external sources.


Creating Zones

The following is the forward zone entry in named.conf file, written for mydomain.local domain. Edit /etc/named.conf.


zone "mydomain.local" IN {
type master;
file "fwd.mydomain.local.db";
allow-update { none; };

};

The following is the reverse zone entry in the named.conf file.

zone "0.0.20.in-addr.arpa" IN {
type master;
file "0.0.20.db";
allow-update { none; };

};

Zone Configuration

Default location of zone file is /var/named. Run following command in terminal to create forward zone file.

#vi /var/named/fwd.mydomain.local.db

Edit as per your configurations.


Run following command to create reverse zone file.

# vi /var/named/0.0.20.db


Restart the BIND service.

# systemctl restart named.service

Enable it on system start up.

# systemctl enable named.service

Now go to a client machine and enter DNS Address 20.0.0.3. Ping dc.mydomain.local or ping www.mydomain.local


You can also verify the forward lookup zone by following command. 


We have successfully installed BIND on RHEL7 as Master server.

Cheers :-)

How to install Webmin in Redhat Linux Enterprise 7 (RHEL 7)

Webmin is a Web-based Management tool for Linux distributions. You can manage the services like DNS, DHCP, MySQL server and other networking services. You can also manage the user, disk, file system, process, packages, etc

You can download available RPM's from Webmin Office Site or Use below commands to download and install.

First we need to create repo for Webmin


Now add following to webmin.repo file and save and exit.


Now we have to download the Webmin GPG key.


Import the GPG key.


To Install Webmin run following command.


You will see


To start the Webmin Run following command.


To Auto start Webmin at system startup run following


By default Webmin listen on Port 10000. To Allow the port in firewall run following.


Now open https://localhost:10000 in browser. Enter Username root and password for root to login.

You will see Webmin page.


Here you can configure your server.

That's all, Cheers :-)


Saturday, October 10, 2015

Install and Configure DHCP Server On RedHat Enterprise Linux With Multiple NIC's

Dynamic Host Configuration Protocol (DHCP) is a client/server protocol that automatically provides an Internet Protocol (IP) host with its IP address and other related configuration information such as the subnet mask and default gateway. 

In some cases a RedHat Machine may have 2 or more NIC's. To setup DHCP server to listen on specific interface we have to configure DHCP server.

In this How-To we have RedHat Enterprise Linux 64bit with 2 NIC's. One is connected to WAN and other is for internal Network.

WAN IP : 192.168.10.37/24
LAN IP: 11.0.0.3/24 

We want DHCP server to listen on LAN interface to assign IP addresses to clients.

First we have to Install DHCP server. Open Terminal and run following.


Type "Y" and Press Enter.


DHCP is installed. Now we have to configure it.
Run following commands to edit the dhcpd.conf file.


Copy following Code and paste it into the file and edit as per your configuration.


As we have mentioned Subnet for only LAN interface DHCP will only listen on LAN interface. IF you have multiple NIC's then You have to mention Subnets for Each interface in /etc/dhcp/dhcpd.conf.

To start DHCP Service Type following


You can also check the status of DHCPD service by running following command. You will see that DHCP is ignoring request on WAN interface i.e eno16777736 and assigned IP address 11.0.0.31 to a clients attached to LAN interface.


By Default DHCP will not start automatically at boot time. To start DHCPD service at boot time run the following comman. 


we have successfully installed and configure DHCP server on RedHat Enterprise Linux 64-bit on VMware workstation 11.

That's all :) 


Tuesday, September 29, 2015

How to Install Red Hat Linux 7 64bit on Vmware Step by Step

We are going to install Red Hat Enterprise Linux on VMware Workstation in this step by step manual.

Open VMware workstation and click file and click New virtual machine.


Click Next and Browse for Disc Image .ISO file for RHEL7 64bit


Click Next and Enter Full Name, User Name, Password, Confirm and click Next. This Password is for both Username Entered and Root Accounts,


Set Virtual Machine Name and Location and Click Next


Set the Disk Size and Split virtual disk into multiple files and Click Next.  Set the Disk size above 20 GB.


Click Finish.


Edit Virtual Machine Settings, Remove CD/DVD (SATA) Using file autoinstall.iso. Set the Network Type to Bridged. Memeory 2GB, Processors as per your hardware limitations. Click Power on this Virtual Machine.


You Will see following. 


Press Enter.


Set the Language and Click Continue


Set the Date and Time


Select the Location for me its Asia/Karachi and Click Done


Now we have to select the packages we want to install. Select Software Installation.  On Next Screen we will select Server with GUI and desired Add-Ons. I have selected following Add-Ons.

  1. DNS Name Server
  2. Directory Server
  3. Email Server
  4. FTP Server
  5. Java Plateform
  6. KDE

And Click Done.


Next we need to select the  Destination Media. Select Installation Destination and you will see following.

Select Local Standard Disks, Select I will configure Partitioning, We have 40 GB Hard Drive


We Can create a partition with the below list of partition types. We will select LVM


Click on "+" to Add new Partition. We will create /boot, /, swap.


For swap partition


For / partition I have allocated the all remaining space to / partition.


Click Done and Click Accept Changes


Last one is to set the Network. Click on Network and Hostname


Switch on the Network and Set the Host name. Click Done.


Click Begin Installation.


You will see the progress bar, Here you can set the Root User Password and Create a New user.


After completion click Reboot.


After Reboot Click on License Information. 


Accept the License Agreement and Click Done.


Click Finish Configuration


Enable the Kdump and let the machine decide the amount of memory required. Click Forward


On Next Screen select No, I prefer to register at a later time. Click Finish


Now we will have the Login Screen. Enter Password and Click Sign In


Select Language and Click Next.


Select Input Sources and Click Next.


You can Add your online account to connect to your online data photos, Contacts, Mail and more. Click Next and Click Start using Red Hat Enterprise Linux Server


We have successfully installed Red Hat Enterprise Linux 7 on VMware Workstaion 11.

Cheers :)